


- Sheet Material
- Boat Kits
- Jet Ski
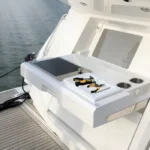
- Cooler Pads
-
 Hzsharks Southwest Cooler Pad for Yeti Tundra 45
$399.86Original price was: $399.86.$92.99Current price is: $92.99. -
 HZSHARKS Yeti Roadie 24 Cooler Mat
$20.99 – $24.99
HZSHARKS Yeti Roadie 24 Cooler Mat
$20.99 – $24.99
-
Hzsharks Cooler Cushion for Yeti Tundra 45
$69.99Original price was: $69.99.$55.99Current price is: $55.99.
-
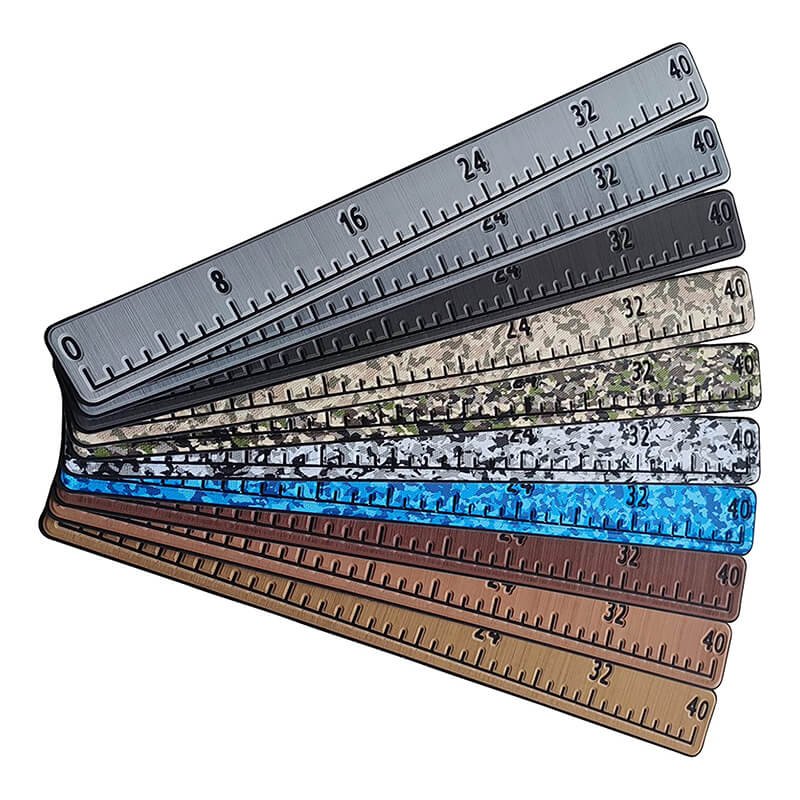
- Fish Rulers
-
40" EVA Foam Fish Ruler for Boats
$38.99Original price was: $38.99.$21.99Current price is: $21.99. -
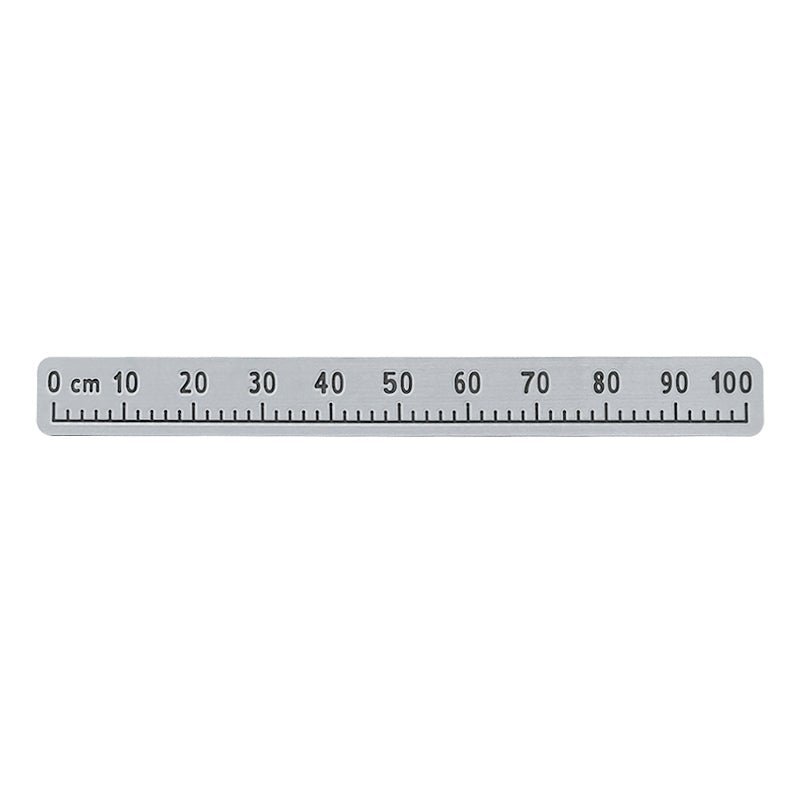
100cm Fish Ruler EVA Foam for Boats - Fish Measuring Stick
$19.99 – $23.99
-
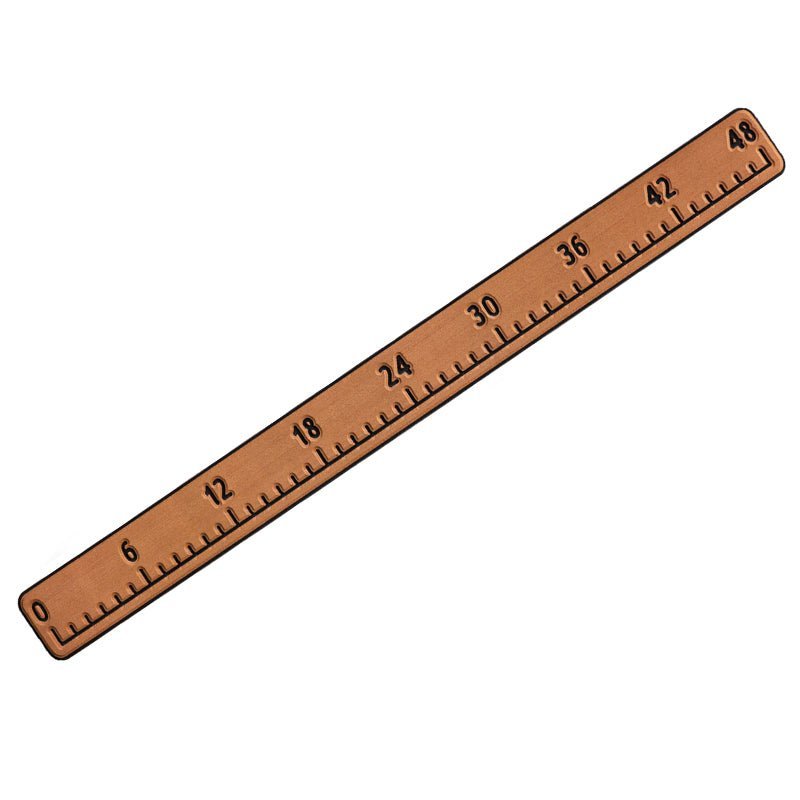
Fish Ruler for Boats 48" EVA Foam Fish Measuring Board with Self-Adhesive Backing
$38.99Original price was: $38.99.$25.99Current price is: $25.99.
-
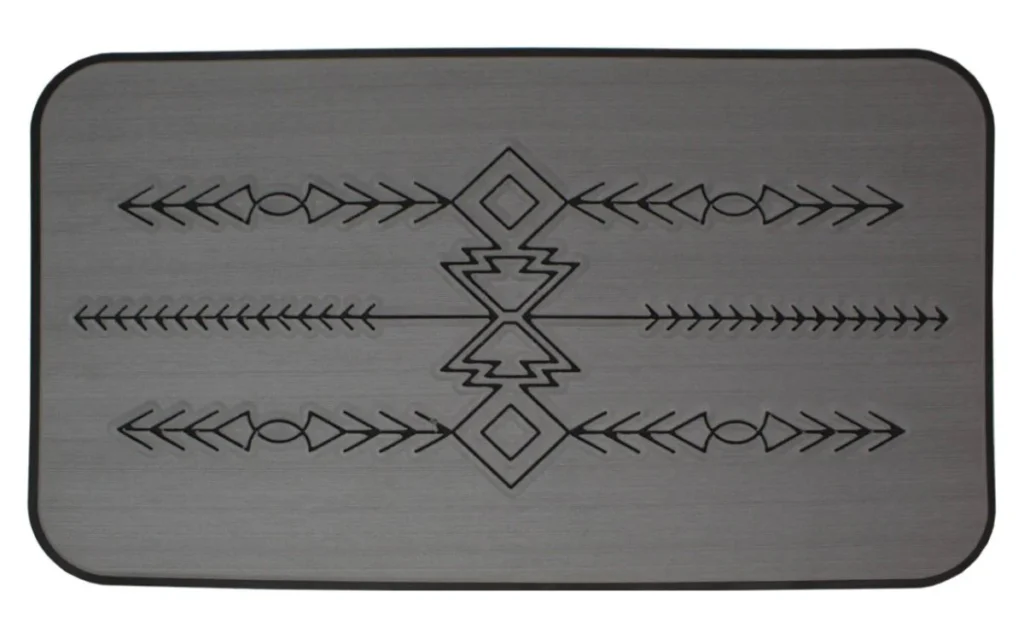
- Boat Nameplate
- Dash Pockets
- Tools


Recommendations for the installation of EVA Boat Flooring Sheets

Tools Needed
Required Tools
1) Sharp Utility Knife
2) Masking Tape
3) Measuring Ruler
4) Laminated Roller
5) Cleaner
6) Clean Cloth
7) Adhesion Promoter. In cases where the surface contains non-slip particles or is uneven, it is advisable to apply a small amount of adhesive glue prior to installation (e.g., 3M Primer 94).
8) Glue. If you have acquired two or more pieces, glue will be necessary for joining them together; otherwise, it is not required.
9) If your deck has previously been covered with EVA mats or carpet, a shovel will be needed to remove the old materials.
Installation Recommendations
1) The installation of EVA mats should occur within a temperature range of 50° F to 100° F (10° C to 38° C).
2) Ensure that the surface is entirely clean and devoid of any residues such as oil, wax, or dust.
3) The floor must also be completely dry to ensure proper adhesion of the EVA foam mat.
4) Once the installation process has commenced, do not attempt to adjust or relocate the mat.
5) To avoid distortion, refrain from pulling, stretching, or compressing the pads during the installation process.
[Regarding Color] - If you acquire more than two pieces and notice a color variation, it is advisable to swap the sheets from head to tail.
(The wire drawing on the material's surface has a specific direction).
[Regarding Splicing] - For those who have purchased two or more pieces that require splicing, it is recommended to apply glue to join the pieces before installation. If you proceed with installation without prior splicing, slight shrinkage may occur over time, potentially concealing debris in the spliced area.

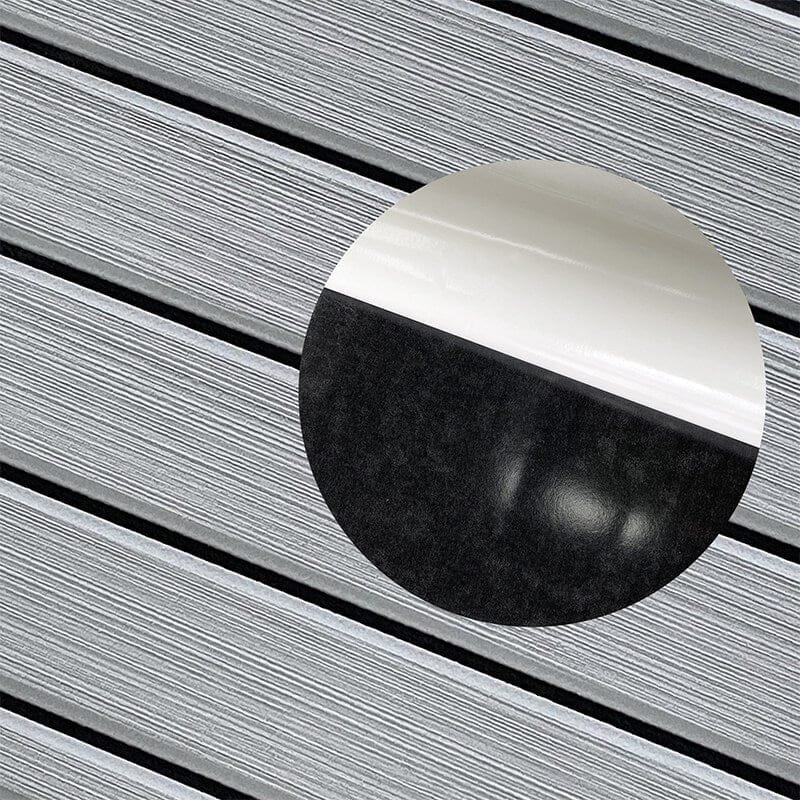
The materials used for the boat deck include aluminum alloy, glass fiber reinforced plastic, gel coat board (FRP), polypropylene (PP), polyvinyl chloride (PVC), and wood. The adhesive exhibits the highest bonding strength on aluminum alloy, while wood demonstrates the lowest adhesion. Surfaces that are uneven do not provide adequate adhesion. For surfaces that lack stickiness, it is advisable to apply an adhesion promoter to the deck prior to affixing the EVA foam sheet.
Preparation

Thoroughly clean the entire area designated for installation by eliminating all grease, adhesive, mold-release agents, wax, dirt, and any other contaminants. It is essential to ensure that the area is entirely dry before proceeding. If there is an old mat or similar material adhered to the deck, appropriate tools must be utilized to clean the deck’s surface.
Preparation

Step1:
Begin by unpacking and arranging all components on a flat surface to enable them to relax and regain their flat shape after being compressed for shipping. Secure them using a marking pen or masking paper. Verify the precise installation position, ensuring that the texture direction is taken into account.
It is advisable to start from either the front or the back and proceed towards the opposite end.
Step 2:
To assess the dimensions, indicate, trim, and cut the EVA foam sheet, arrange the pads in their assigned positions to ensure that the fit and spacing are accurate.
Step 3:
If the item is substantial in size, it is advisable to utilize a sharp razor knife to carefully slice the adhesive backing of the paper from left to right (or from right to left). However, it is imperative to avoid cutting into the pad itself.
Step 4:
Begin at the center cut you have created, and carefully peel back 2 inches (5 cm) of the paper backing, then fold it to create a crease. Perform the same action on the opposite side. Secure both sections of the paper backing in position to conceal the adhesive.

Step 5:
Reorient the pad and place it precisely in the desired installation location.
Step 6:
Affix one side of the pad to the surface using masking tape. This taping method ensures that the pad remains stationary.
Step 7:
Elevate the side that is not secured with tape and remove the paper backing from the crease. Carefully reposition the pad. Employ masking tape to ensure the pad remains stationary.
Step 8:
Remove the paper backing from the opposite side of the crease. After positioning the piece correctly and completely removing the backing paper, apply pressure across the entire surface to ensure a secure bond.
Step 9:
To utilize your roller, move it in a back-and-forth motion starting from the center of the material, extending towards both the top and bottom. It is essential to apply consistent pressure to prevent any air from being trapped beneath the pad, with particular focus on the edges. The pressure-sensitive adhesive (PSA) located on the reverse side of the mats necessitates a pressure of 15 psi for activation.
If you encounter a small bubble that does not resolve on its own, you may create a small hole in the mat using a pin or the tip of a razor knife, allowing the air to escape through this opening. Once the area is pressed down, the hole will become inconspicuous.
Step 10:
Proceed to cover the remaining areas with mats by employing the same technique, ensuring that each piece is properly aligned prior to adhering them. Enjoy your new EVA foam mat.
Maintenance
1) Cleaning with water is essential. It is important to address any stains from fish blood, red wine, or other colored liquids promptly.
2) Avoid applying excessive pressure; if pressing is necessary, ensure that the entire EVA foam mat is pressed evenly.
3) Refrain from exposing the material to high temperatures or sudden heat. Temperatures exceeding 70 degrees can lead to shrinkage and compromise the internal structure.
Additionally, the glass refraction focal point on the vessel may generate significant heat.
Are you prepared to experience the authentic product?
Please complete the form, and a Certified Professional in your area will contact you shortly.


